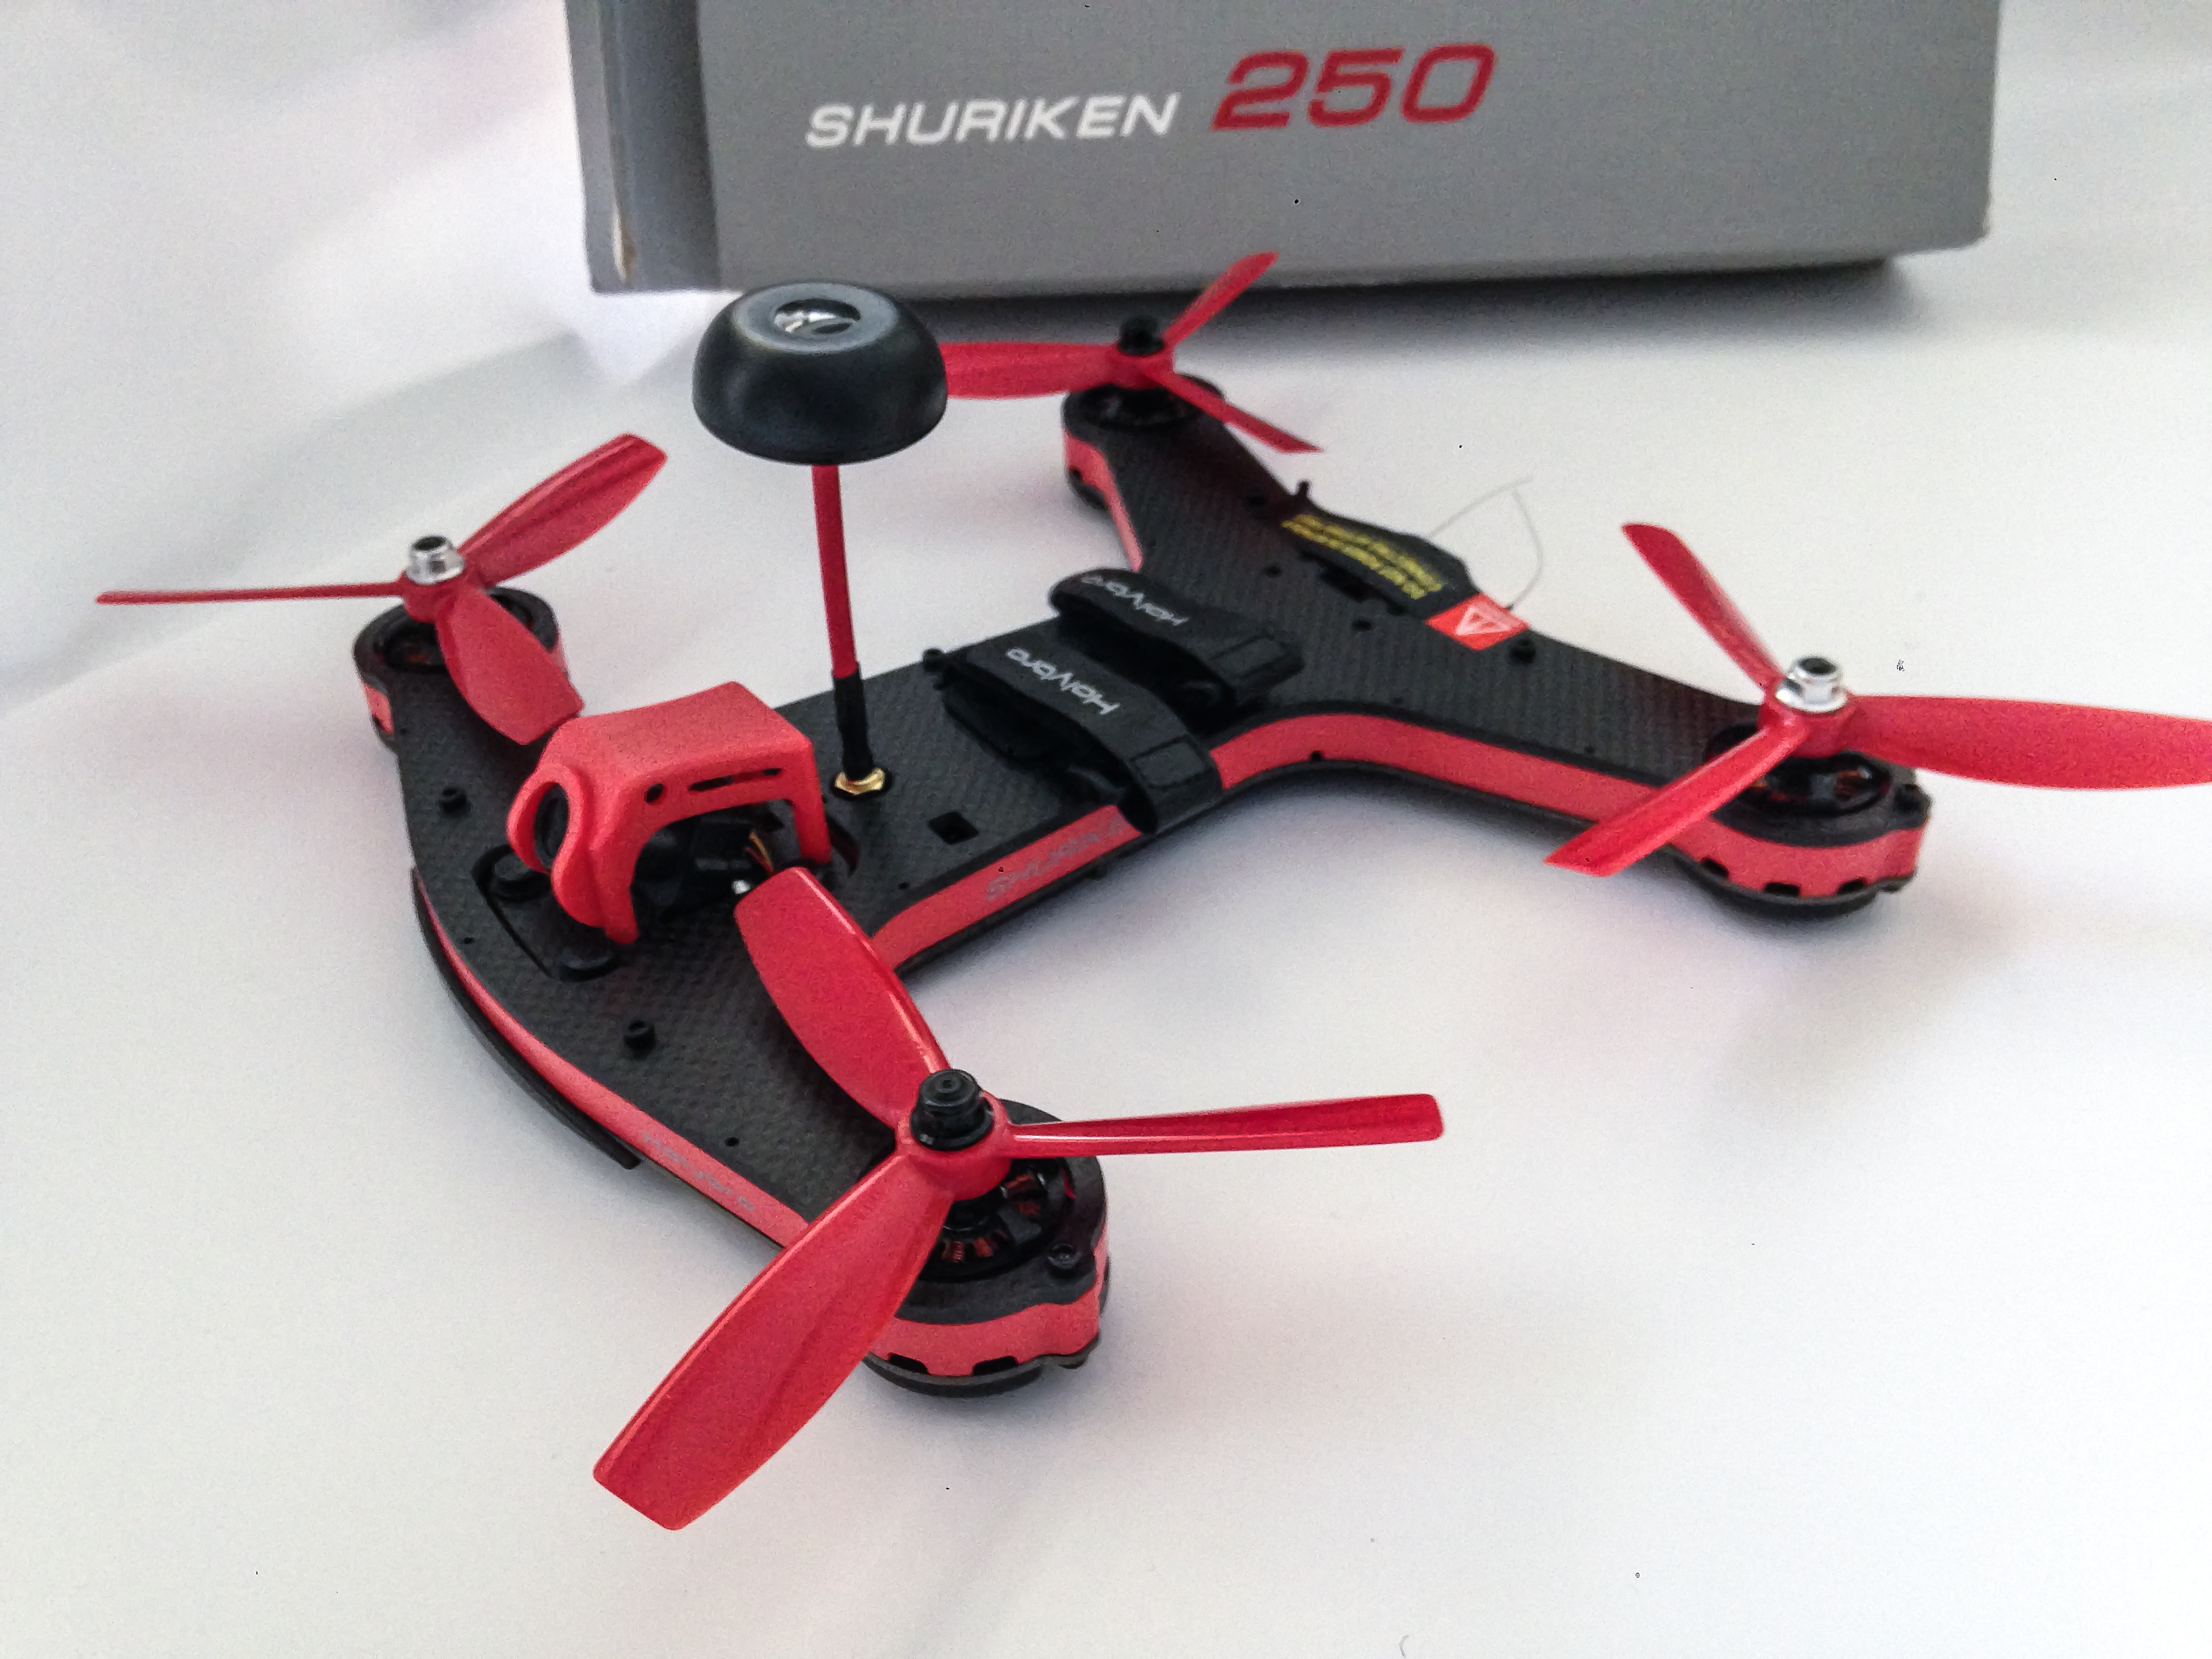
After my previous not so normal flight review of the Ideafly grasshopper I was asked to try and Holybro Shuriken 250 RC Racing Drone. But first, here is the Holybro Shuriken 250 review.
Buy it now: Holybro Shuriken 250 RC Racing Drone
Holybro Shuriken 250
The Holybro Shuriken 250 comes in a neat box and carrying case. This keeps it safe during shipping and makes sure it arrives in one piece. The carrying case allows you to enjoy flying instead of worrying about how to go places with it.


The Shuriken is a 250 racing drone, allowing 5 inch props. With the 2205-2300kv motors and 30A Shuriken ESC’s this makes it very capable. It can take any 5inch prop in the craziest pitches out there 🙂


Buy it now: Holybro Shuriken 250 RC Racing Drone

The two battery straps comfortably hold the battery secured. It is important to tighten the battery straps well to avoid having the battery damaging the antenna during a crash.

The 700TVL CMOS camera is mounted on a vibration dampening platform to insure a smooth video with no Jello! I would have preferred a CCD camera instead.

The Video transmitter and USB are easily accessible in the back, allowing to quickly change the frequency when needed.

Many buttons and dip switches make it very versatile, I suggest reading the manual to see how it works. All of them are accessible without without opening the screws or taking the top plate off.

Read at the end of this article for the different settings for each button and dip switch.

Never plug your drone without connecting the Antenna to the antenna port in front of the battery.

Buy it now: Holybro Shuriken 250 RC Racing Drone
Holybro Shuriken 250 Manual
Setting up Video Transmitter power
The Shuriken has 2 power modes, 25mw and 600mw. Out of the box it is set to 25mw, for the 600mw mode, move both jumpers “up” (orientation like in the picture below).

Choosing USB port functionality
The USB port can either connect to the Flight controller or to the OSD chip. The OSD comes preset with all the needed information on screen. If you would like to have more (or less) on your screen you can change the settings by connecting to the OSD chip by changing the dip swich position.
Dip switch positions for modes (located an inch forward from XT60 port):
| Mode | 1 | 2 | 3 | 4 |
| Flight controller | ON | ON | OFF | OFF |
| OSD | OFF | OFF | ON | ON |
Buy it now: Holybro Shuriken 250 RC Racing Drone


What a sweet package for $240 and the color combo is awesome.