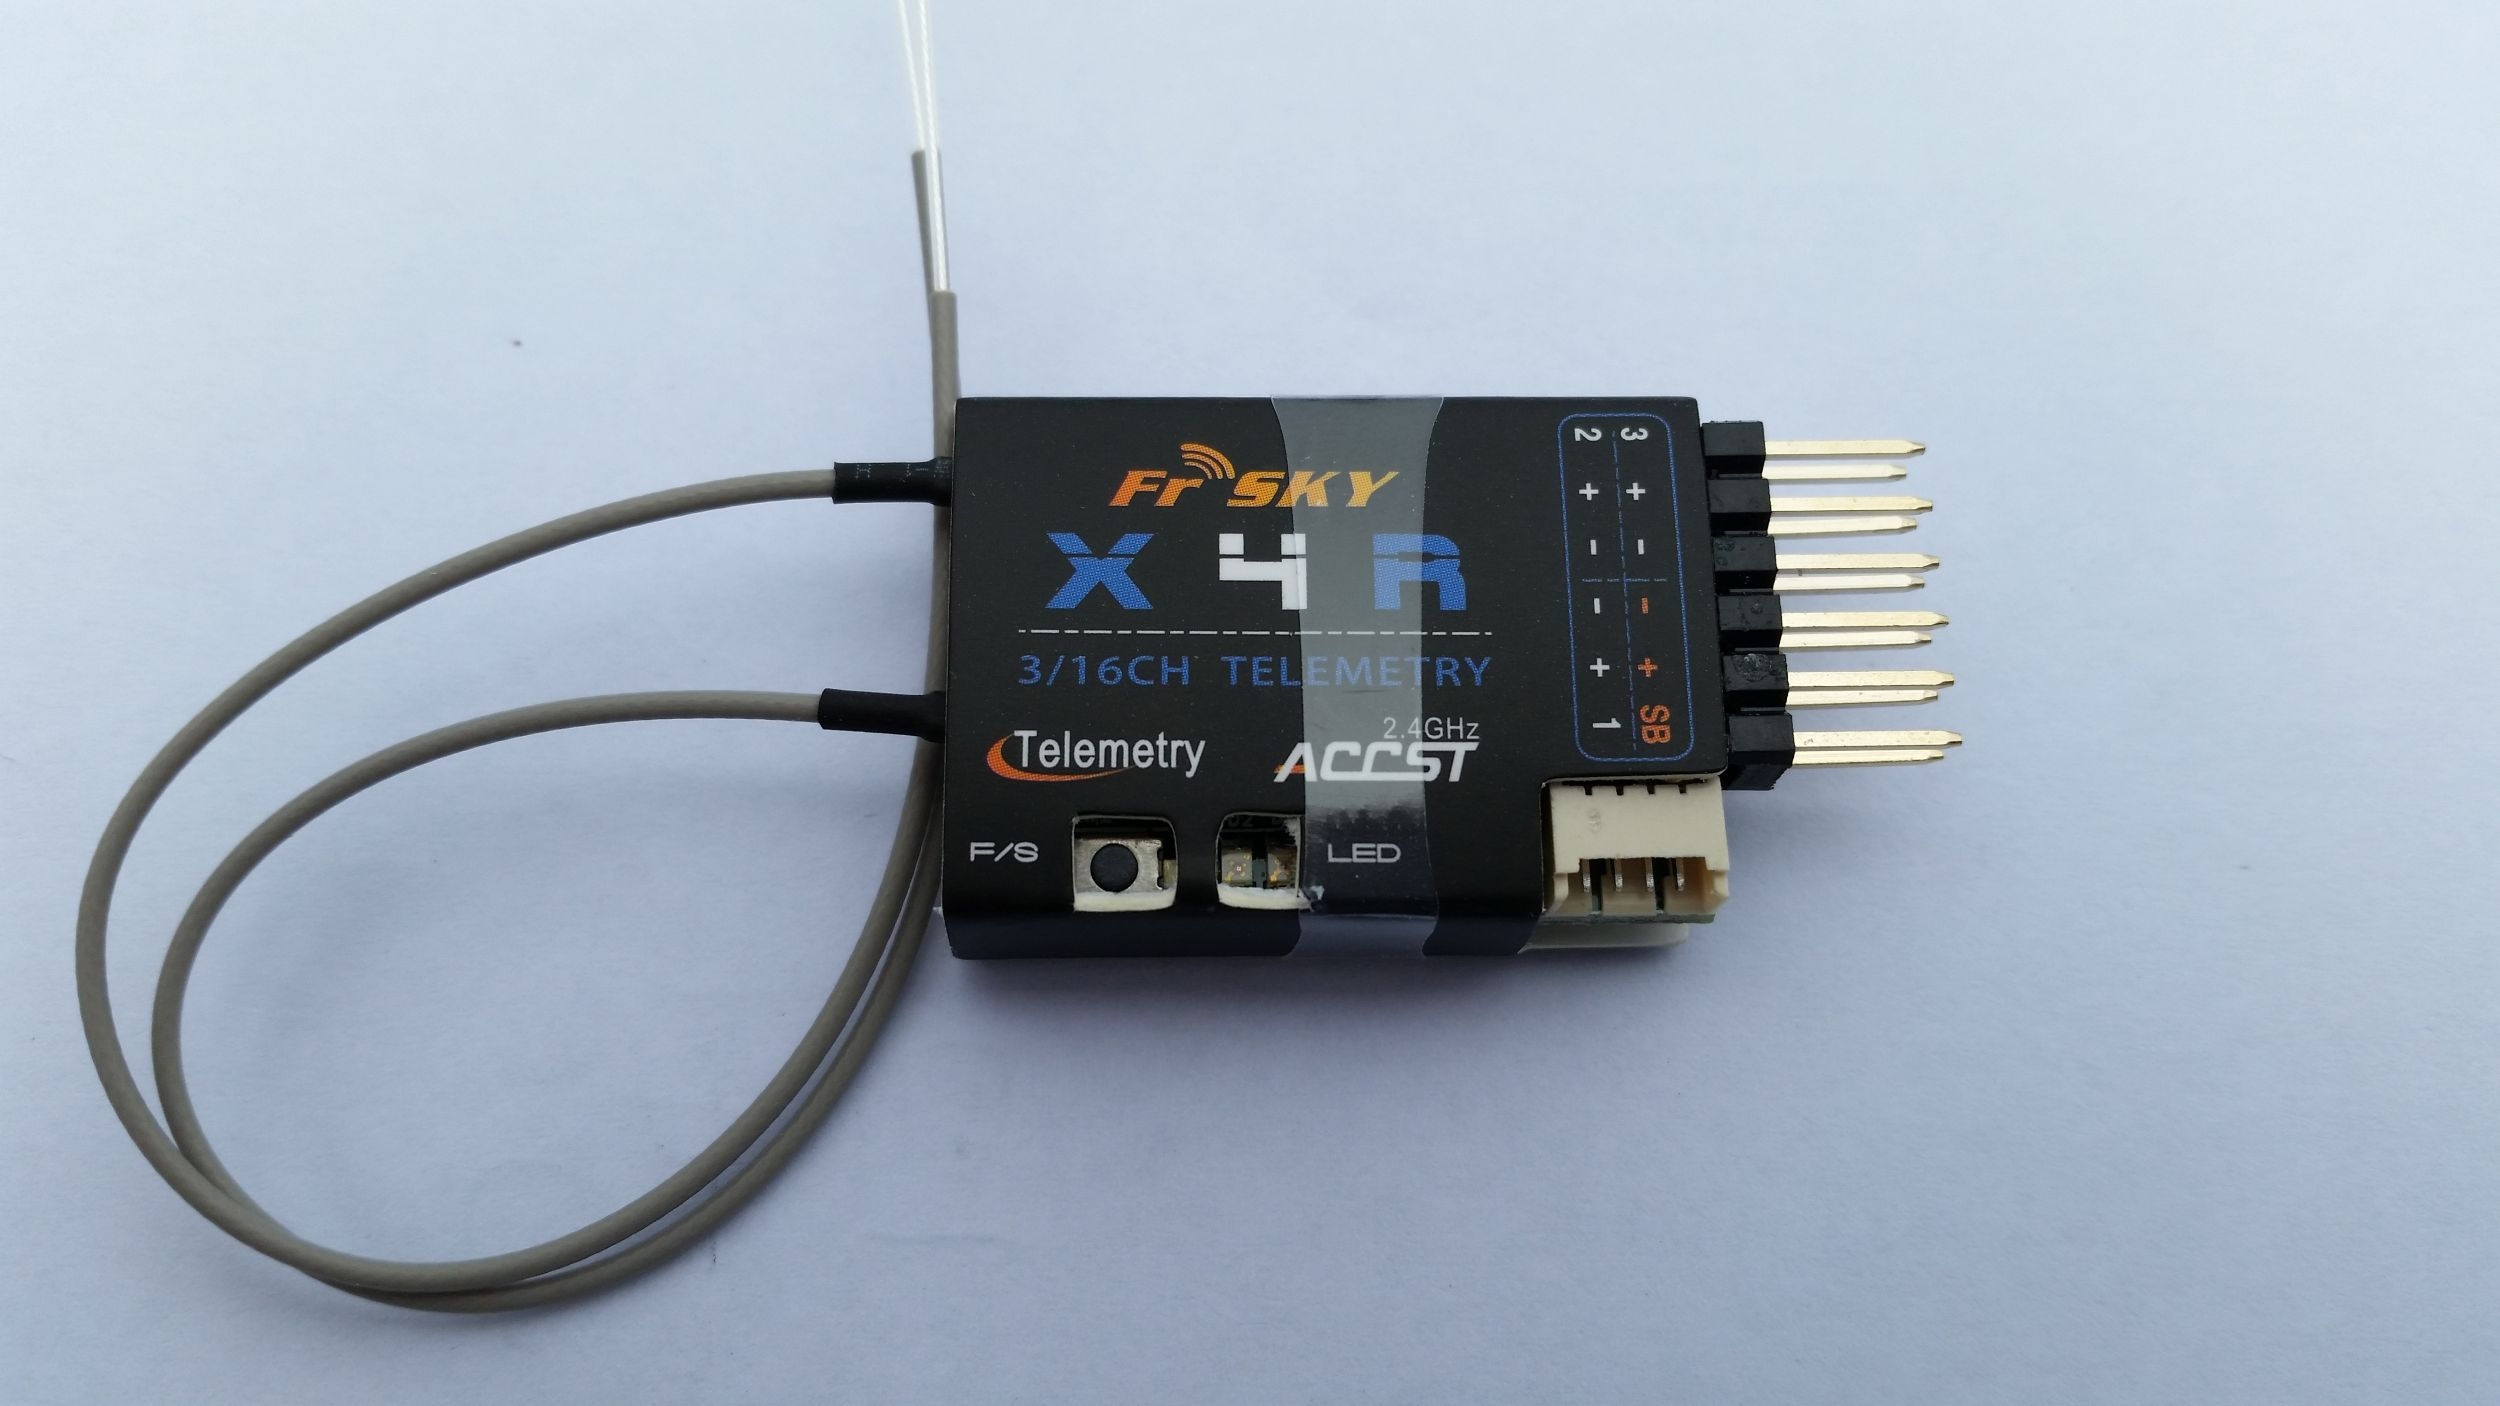
X4R SB comes with a stock firmware allowing s.bus only. We will flash X4R SB with a newer firmware which will allow us to use it either in s.bus, or PPM. On top of that, channels 2 and 3 on PPM mode will act as CH9 and CH10.
X4R SB Before flash:
| SBUS | 16 SBUS + 3 PWM |
X4R SB After Flash:
| SBUS | 16 SBUS + 3 PWM | Bind: Normally |
| PPM | 8 PPM + 2 PWM | Bind: 2-3 shorted |
Lets start,
- Get your FrSky X4R SB receiver from here.
- You will first need the update to the latest Open-TX Firmware on your Taranis remote.
- Download the latest X4R-SB firmware from Frsky website.
- While holding Yaw-Trim to the right and Roll-Trim to the left, turn on your Taranis.

- Copy the downloaded firmware to the Taranis SD-Card into FIRMWARE folder (create it if needed).
- Safely eject both the Taranis drive and the additional drive representing the SD card before unplugging the USB cord, and turn off the Taranis.
- Turn on your soldering iron and using a servo cable and the provided Telemetry cable, make a flashing cable like so:
- Cut the servo cable keeping the male connector with enough wire, and re-order the wires to red-black-white (instead of black-red-white).
- carefully take out the white wire from the Telemetry cable.
- Solder Servo red-black-white to Telemetry red-black-green
- Turn on the Taranis.
- NOTICE: In the next step (9) you will need to connect the servo wire to the module pins at the back of the taranis. The Positive pin (red servo wire) will output the voltage from your Taranis battery, If you have modified the battery make sure the X4R-SB can accept such voltage (4-10V). The stock battery will work fine.
- connect servo connector to the module pins on the back of the Taranis in this order (from bottom to top): white – black – red.
- Long press the MENU button and PAGE to the SD CARD page.

Taranis SD CARD page - Scroll down (–) to the FIRMWARE folder and click ENT button.
- Scroll to the X4R-SB.frk file (depends on how you named it).
- Long press ENT and chose Flash External Devices and click ENT again.
- X4R-SB will flash a bit while Writing scroll bar will advance on the Taranis screen.
Greetings! I’ve been reading your blog for a long
time now and finally got the courage to go ahead and give you a shout out from New Caney Texas!
Just wanted to say keep up the good job!
Great post. Thanks for the read.
Thank’s great post.
Welcome 🙂 happy you enjoyed it!
Cool. From Bangkok, Thailand!